Tolerances typically have an inverse relationship with manufacturing cost, as tighter tolerances tend to be more challenging and costly to achieve. Therefore, how can we reduce costs and improve quality in tolerance settings?
According to Metrology News, it is possible to achieve zero tolerance with 5-axis CNC machines.
The Latest Advancements in Tolerance Control:
Since CNC machining tolerance technology is developing continuously, we have some crucial findings here: Here are some of the latest findings:
- Additive Manufacturing Integration
- Advanced Tooling and Materials
- In-Process Monitoring and Adaptive Control Systems:
So in this guide, we shall be looking into machining tolerance and find the answers to the following questions:
- Tolerance Definition
- CNC machining tolerance Impact
- Mitigation Strategies
- Material Selection
- And Impact of Cost
If you are a beginner to cnc machinig, please check these guides:
Definition of Tolerance
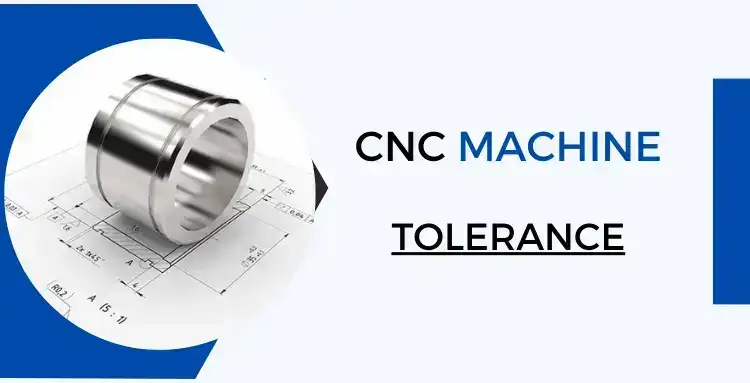
Tolerance is an incredibly important aspect of CNC machining. They refer to the allowable deviation from a defined dimension in CNC-machined parts. In other words, tolerances determine the maximum amount of deviation or difference between characteristics, such as:
- Hole diameter
- Wall size
- And acceptance level of tolerance.
What is precise tolerance?

Precise tolerances are critical to ensuring the final products function optimally. Just as perfectly fitting gears are essential for working, tight tolerances of machined parts make them interact seamlessly, improving their function.
For instance, high-precision parts with strict tolerances, such as the piston rings and the cylinder walls, eliminate friction, allowing for maximum power output.
On the other hand, loose-fitting parts are the cheaper alternative for machines. They could be more efficient since consistent use impacts the CNC machine’s tool wear and tear.
Understanding Tolerance in CNC Machining
We know, in making a part, CNC machining is not the only process. It is an example of several sub-processes that all work in the context of CNC with CAD files or CAD designs. However, as you may already know, it is possible to make or manufacture one design in several ways. The two main sub-processes are:
- Milling
- Turning
For a given feature, the same tolerance will not be achieved whether the part is done on the lathe or a CNC machine. This is critical when considering the technology choice. Of course, there’s milling and turning, but when you get into tight tolerances, you may use grinding machines. These are
- Flat grinding machines
- Circular grinding machines, etc.
Impact of Tolerance
If you have a design with very complex features and you require, say, a plus or minus 0.01 millimeter on it, it may be possible. In some instances, it is not possible. So you must consult with a professional machining company before going into making complex parts.
Common Types of CNC Machining Tolerance
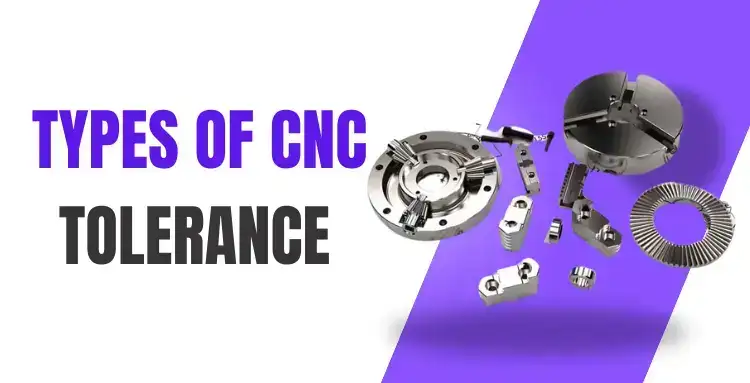
There are two main types of CNC machining tolerances:
- Standard Tolerances:These are standard tolerances. These are used for applications where tight tolerance is not required. Here are some common standards:
- Milling (3-axis, 5-axis):+/- 0.005 inches (0.13 mm)
- Turning (Lathe):+/- 0.005 inches (0.13 mm)
- Drilling, Tapping:+/- 0.010 inches (0.25 mm)
- Sheet Metal Fabrication:+/- 0.030 inches (0.76 mm)
- Tight Tolerances:Tight tolerances are required for tough designs. These play a crucial role in making high-performance engines, complex medical equipment, and aerospace components. Here are some examples of tight tolerances:
- +/- 0.001 inches (0.025 mm)
- +/- 0.0005 inches (0.0127 mm)
- Beyond 0.0005 inches
Tolerance By Geometric Features
Bilateral Tolerances:
- Allow variation in both directions.
- We use ±symbol followed by a tolerance value (e.g., 10 mm ± 0.1 mm).
- Can be both positive and negative variation and unequal
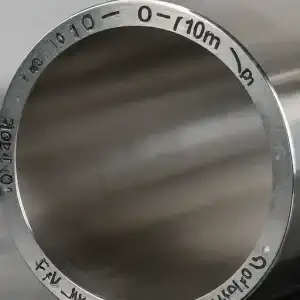
Example: Pipe diameter of 10 mm with a bilateral tolerance of ±1 mm:
- Basic size: 10 mm
- Upper limit: 11 mm
- Lower limit: 9 mm
- Acceptable parts: 9 mm to 11 mm
Limit Tolerances:
- Specify the upper and lower limits of an acceptable range.
- Do not use “+”/-” symbols.
Example: Pipe diameter between 9 mm and 11 mm (instead of 10 ± 1 mm).
Profile Tolerances:
- Focus on the curvature of a part’s cross-section.
- Given by a semi-circle symbol.
- Define an acceptable rangefor the curvature line (measured in mm or inches).
Orientation Tolerance:
- Variationof a form’s position relative to a reference plane (datum).
- Measured in mm or inches(not degrees).
- Give deviations in perpendicularityor angularity.
Location Tolerance:
- Focuses on the shiftin location of specific features.
- Measured in mm or inches.
- Gives allowable deviation.
Form Tolerances:
- Address the physical featuresof a workpiece
- Measured in mm or inches.
Runout Tolerance:
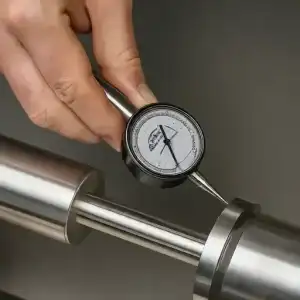
- Represents the fluctuationof a feature.
- Important for concentric or precisely positioned features.
- Have square box with an arrowpointing to the top right corner.
Unequally Disposed Tolerances (U Modifier):
- Used for unequal unilateral toleranceson a specific profile.
- Given in letter “U” inside a circle.
Geometric Dimensioning and Tolerancing (GD&T):
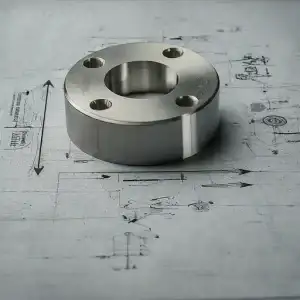
- A standardized system of symbols.
- Goes beyond simple tolerances and defines:
- Size
- Form
- Orientation
- Location
- Of features relative to each other
Understanding Tolerance Specifications
Consider a picture with an ordinary dimension of 10 mm for the diameter of the shaft. Is it really precise to 10 mm? Here, tolerance callouts are employed, which define the allowable variation from this value. A common way is to say “+/- 0.1 mm”. It means that the shaft can lie anywhere between 9.9 mm and 10.1 mm without being out of tolerance.
One cannot overemphasize the significance of concise and clear callouts; since undefined ones might cause misconceptions or products that do not match your design plan.
GD&T Symbols
This method extends beyond simple linear tolerances, and we use a comprehensive system known as Geometric Dimension and Tolerance. GD&T is a standardized system of symbols that is used to describe complex dimensional requirements. It shows the size of certain features, as well as their form, orientation, and location concerning other features.
Common GD&T Symbols:
- Linear Dimensions: “+/-” specifying acceptable variations in length, width, or height.
- Holes: Specify the allowable range for hole size.
- Flatness: Defines the permissible deviation from perfect flatness.
Factors Affecting CNC Machining Tolerance

Materials
Different materials have different kinds of tolerance, so here are some details. If you have plastic, brass, aluminum, or stainless steel the tolerance will be different for each material.
Here is the table to understand tolerance in different materials:
| Material Category | Material Alloy/Type | Typical Tolerance Level (mm) | Notes |
| Metals | Aluminum (general purpose) | +/- 0.05 – +/- 0.1 | |
| Aluminum (aircraft grade) | +/- 0.025 – +/- 0.075 | Requires tighter control | |
| Steel (low carbon) | +/- 0.1 – +/- 0.2 | ||
| Steel (stainless steel) | +/- 0.1 – +/- 0.3 | ||
| Brass | +/- 0.1 – +/- 0.2 | ||
| Engineering Plastics | ABS | +/- 0.1 – +/- 0.3 | Hygroscopic |
| PEEK | +/- 0.1 – +/- 0.2 | Good dimensional stability | |
| Polycarbonate (PC) | +/- 0.1 – +/- 0.2 | Good impact resistance | |
| Delrin (POM) | +/- 0.1 – +/- 0.2 | Low friction | |
| Soft Plastics | PVC | +/- 0.2 – +/- 0.5 | Flexible |
| Silicone | +/- 0.5 – +/- 1.0 | Highly flexible |
The size of the parts
So, the big part and the small part, it is different also. So, if the part is very big, the tolerance will be larger. If the size is small so the tolerance will be very tight. We will check the different kinds of parts.
The surface treatment
Different surface treatments have different thicknesses—for example, part coating, actual plating, and anodizing. So, we will control various kinds of surfaces. For instance, if the thickness is 2 mm, we will maintain this part’s thickness.
Choosing Different CNC Machines
The important thing is that the different kinds of machines will also affect tolerance. For example, if 3-axis machine is involved in making part the price will be different. Subsequently, 5-axi machining can design the part with more axes; it will increase the cost due to upfront costs of CNC tools.
Achieving Tight Tolerances with CNC Machining
In CNC machining, you will find diverse parts with basic and advanced tolerance. All these parts are made following a design. Complex parts mean the design will be challenging for the machine. Subsequently, the tighter tolerance requires good machining capabilities. However, there are several ways to fix this issue. We shall mention each below:
4 and 5-Axis CNC Machines
While traditional 3-axis machining is perfect for simpler geometries, 4-axis or 5-axis machining stands out for more complicated parts. A more sophisticated one, it moves the cutting tool along five independent axes, allowing the machine to create forms of great complexity with much higher accuracy. In other words, with the 5-axis, there are much tighter tolerances on features that would be hard or impossible to produce with traditional methods.
Read More: 4 Axis CNC Machining: Complete Guide
Micromachining for Microscopic Features
Micromachining is a unique technique incorporating minimal cutting tools and high-precision motion control systems. It will enable manufacturing parts with complex details. You can consider it as small as a grain of sand. As a result, it can build parts for microfluidics and miniaturized electronics applications, where strict tolerances are essential for performance.
Zero Tolerance CNC Milling
The term “zero tolerance CNC milling” certainly sounds good. It could only be true in the best scenario. In reality, zero tolerance is more of an ideal than anything that can be achieved through practice. Everything has limitations, from the specifics of milling to the environmental impact and other aspects affecting one’s work.
Specialized Tooling and Fixturing
The achievable tolerances are dependent on the tools and fixturing used in CNC machining. High-precision cutting tools with minimal runout hold the workpiece. These tools will help minimize vibrations and deflection during machining.
This tooling tends to be more expensive, but it is essential to invest in such equipment to achieve tight tolerances.
Tolerance Stack-up and Mitigation Strategies
Tolerance stack-up is the cumulative effect of individual tolerances on different features of the custom part. When these tolerances accumulate across many features, the final part dimension can be far off its initial designed range.
For instance, if there is a shaft and a hole through its center. The shaft diameter has a tolerance of +/- 0.1 mm, and the hole diameter has a tolerance of +/- 0.2 mm.
How to reduce costs while maintaining tighter tolerances?
This might sound crazy, but improving quality by loosening tolerances can be a smart move. When you tighten tolerances, costs go up and the chance of rejection increases too. So, from a cost standpoint, we want tolerances to be on the larger side.
Sometimes engineers think that assigning super tight tolerances makes their parts top-notch, but that’s just plain wrong. It ends up costing more and increasing the likelihood of rejections.
Components Tolerance in CNC Machining
When it comes to component tolerances, we think about how the parts fit together, what the parts have to do, and how the parts are manufactured. If you need to save some cash on manufacturing costs without sacrificing part quality, check out these 5 ways to loosen tolerances:
- Take a second look at the functional requirements of the part to see which tolerances are really necessary.
- Work with your suppliers and manufacturers to figure out which tolerance can be loosened up without affecting the quality of the product.
- Invest in better production equipment and tools to make sure you’re hitting those tolerances.
- Optimize the design of the part to make it less sensitive to changes in tolerances.
- Test the tolerances under real-world conditions to see which ones can be relaxed without any issues.
If you want to get a handle on some tricky dimensions, you can ask your suppliers and manufacturers about it. It’s super important to do this because you’re not likely to find this info on your own.
Consult with a Reliable CNC Machine Shop
Manufacturers might reject your production because they’re limited by tolerances that are too tight. You may not see their internal rejection reports, but you will feel the burn from the costs associated with their rejections. So it’s better to ask upfront and avoid these issues together.
We also need top-notch equipment to test and guarantee that these tolerances are met. So, what we need to do is set a tolerance that controls the size, ensuring that the part functions correctly when it’s assembled or in its final operating conditions.
Selecting the Right Tolerance for Your CNC Machining Project
One of the top factors in selecting the right tolerance starts with hiring a professional CNC machining company. A seasoned CNC machine shop can handle your custom parts professionally. They must know which part requires standard or tight tolerance. Similarly, you should have a brief comparison of cost and precision.
You can consider Yijin Hardware as your machining partner. It has a complete range of different materials. In addition, the experienced staff guides you well in choosing the best tolerance. We aim to provide rapid turnaround time by giving cost-effective machining solutions.
 Call Us Today! (+86) 188-2253-7569