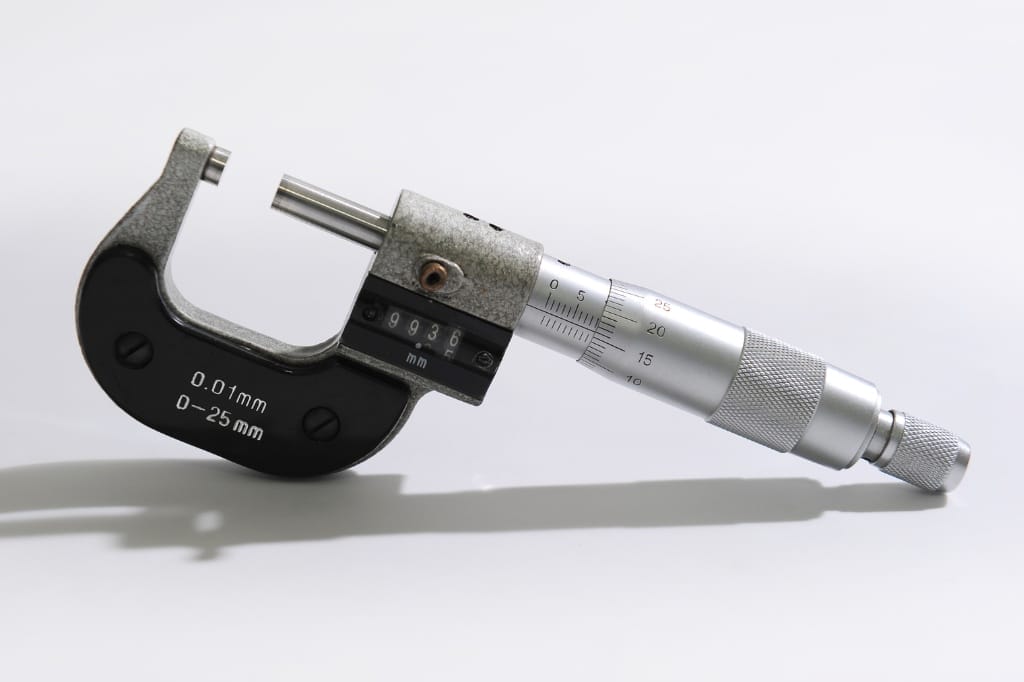
As early as the 18th century, the micrometer appeared on the manufacturing stage in the development of the machine tool industry.
A micrometer is still one of the most common precision measuring tools in the workshop.
Today, YIJIN Hardware will briefly introduce the birth and development of the micrometer for you.
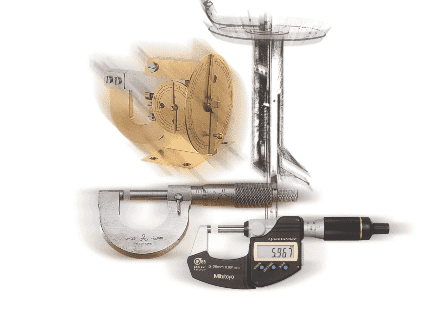
Initial Attempt to Measure the Length with Thread
The first use of the thread principle to measure the length of an object was realized in the 17th century. In 1638, astronomer W. Gascoigne of Yorkshire, England, applied the thread principle to measure the distance of stars.
Later, in 1693, he invented a measuring ruler called the caliper micrometer.
This is a measuring system with a threaded shaft attached to a rotating handwheel at one end and a movable jaw at the other.
A measured reading can be obtained by counting the rotation of a handwheel with a reading dial.
The week of the reading dial was divided into 10 equal parts, and the distance was measured by moving the measuring claw, realizing the first human attempt to measure the length with the thread.
The Caliper Micrometer Invented by Gascoigne
A century after Gascoigne invented his measuring instrument, James Watt, inventor of the steam engine, invented the first table-type micrometer in 1772, and a key element of his design was the amplification based on the thread.
James Watt’s earliest use of a U-shaped design would have become the standard for micrometers, and without him, the micrometer’s history would have been interrupted.
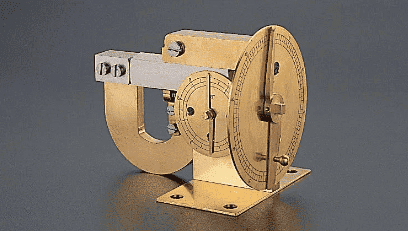
James Watt’s Desktop Micrometer
The Father of Machine Tools Invented the “Judge”
In the early 19th century, Sir Henry Maudsley, known as the “father of the machine tool,” also made his mark on the history of measuring instruments.
His desktop micrometer, the Supreme Justice, was able to measure the most precise dimensions of the time and is considered the beginning of precision measuring instruments.
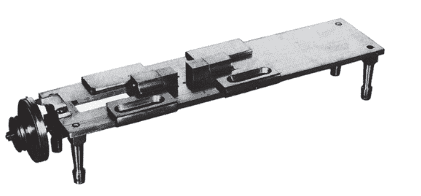
Maus Lay’s Desktop Micrometer “The Lord Chancellor”
Sir Whitworth was the First to Commercialize the Micrometer
However, James Watt and Maus Lay’s desktop micrometers were largely for their use. It was not until the latter part of the 19th century that precise measuring instruments were sold on the market.
Sir Joseph Whitworth, who invented the famous “Whitworth thread”, became a leader in commercializing the micrometer.
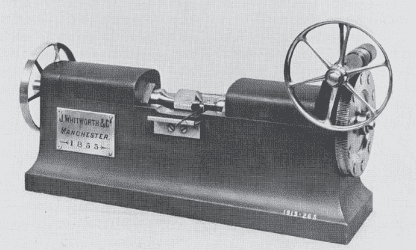
Mr. Whitworth’s “millionth of an inch” measuring device
The Birth of the Modern Micrometer
Modern standard micrometers feature a U-shaped structure and one-handed operation. The micrometer is a common design used by many manufacturers.
The classic design dates back to 1848 when French inventor J. Palmer received a patent for what was called the Palmer system.
Modern micrometers follow almost all the basic designs of the Palmer system, such as the U-shaped structure, casing, sleeve, and anvil. Palmer’s contribution to the history of micrometers is immeasurable.
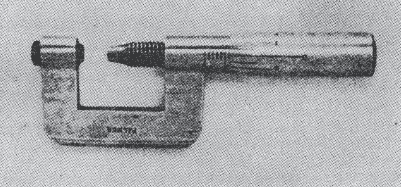
The Palmer micrometer on display at the International Fair in Pari
The Development and Expansion of Micrometer
Brown & Sharpe of the American B&S company visited the 1867 Paris International Exposition, where they first saw the Palmer micrometer and brought it back to the United States.
Brown & Sharpe took a closer look at the micrometer they brought back from Paris and added two mechanisms to it: a mechanism to better control the mandrel and a mandrel locking device.
They produced the miniature micrometer in 1868 and put it on the market the following year.
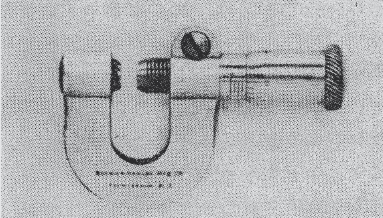
Brown & Sharpe miniature micrometer used to measure plate thickness
Read More: Precautions For The Use Of Calliper


