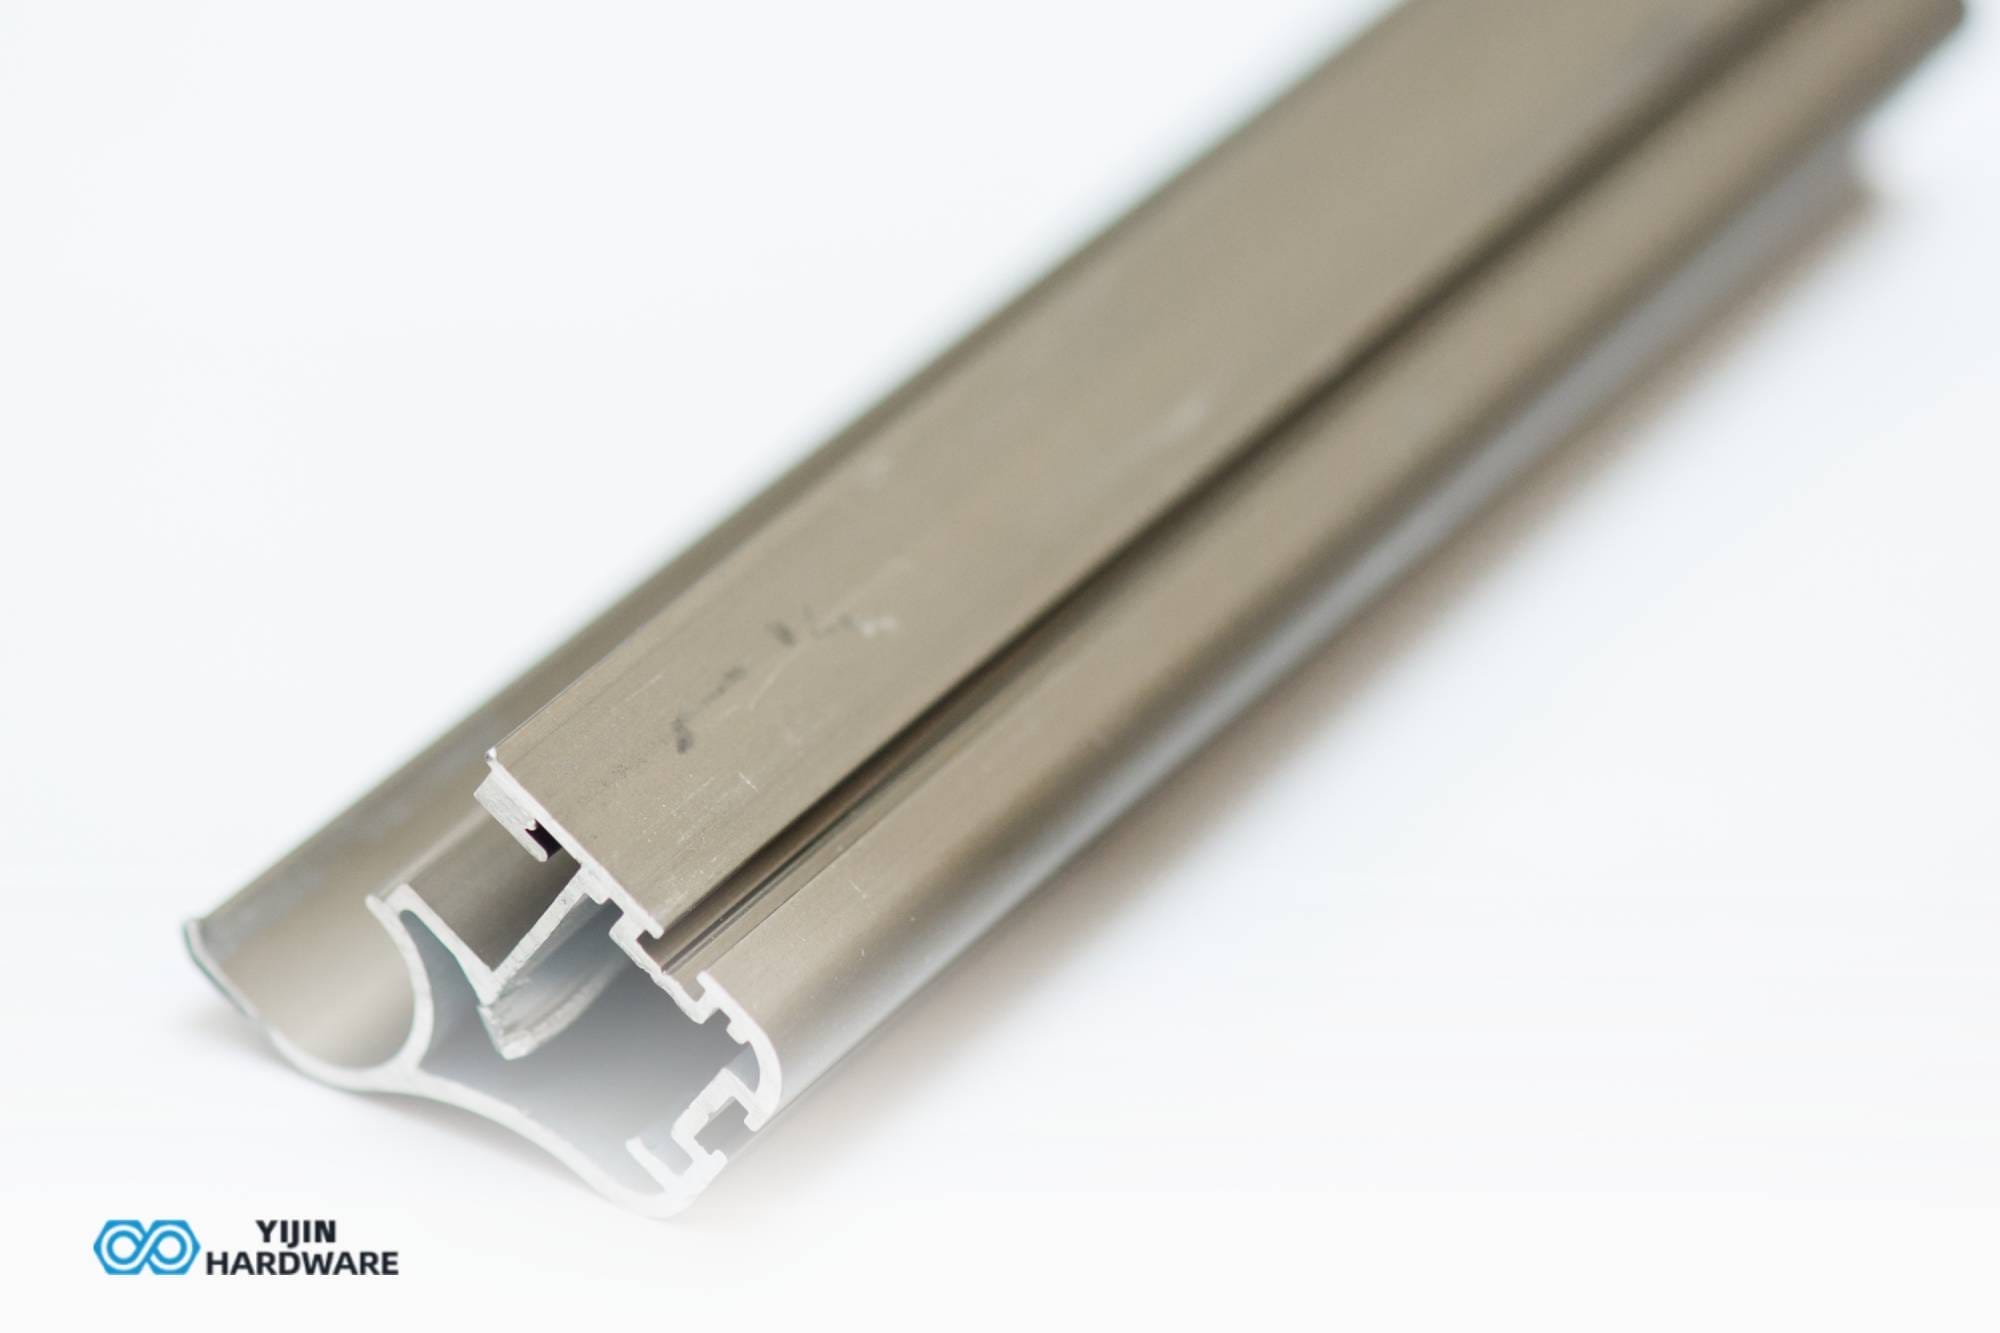
Anodizing aluminum is a process that improves aluminum’s natural properties, making it more durable and resistant to corrosion. This technique involves creating a thick layer of aluminum oxide on the surface of the aluminum part, which not only protects it but also allows for dyeing aluminum in various colors.
In this article, we’ll explore how to anodize aluminum with some tips and tricks, whether at home or in a professional setting, and discuss the benefits of this process. Yijin Hardware specializes in CNC machining services, providing high-quality finishes for various aluminum components.
Key Takeaways
- Anodizing aluminum creates a protective oxide layer that enhances corrosion resistance.
- You can anodize aluminum at home using simple materials and equipment.
- The anodizing process requires sulfuric acid and distilled water in specific ratios.
- You can dye aluminum after anodizing it for added aesthetic appeal.
- Proper safety precautions are essential when working with chemicals and electricity.
Materials Needed to Anodize Aluminum
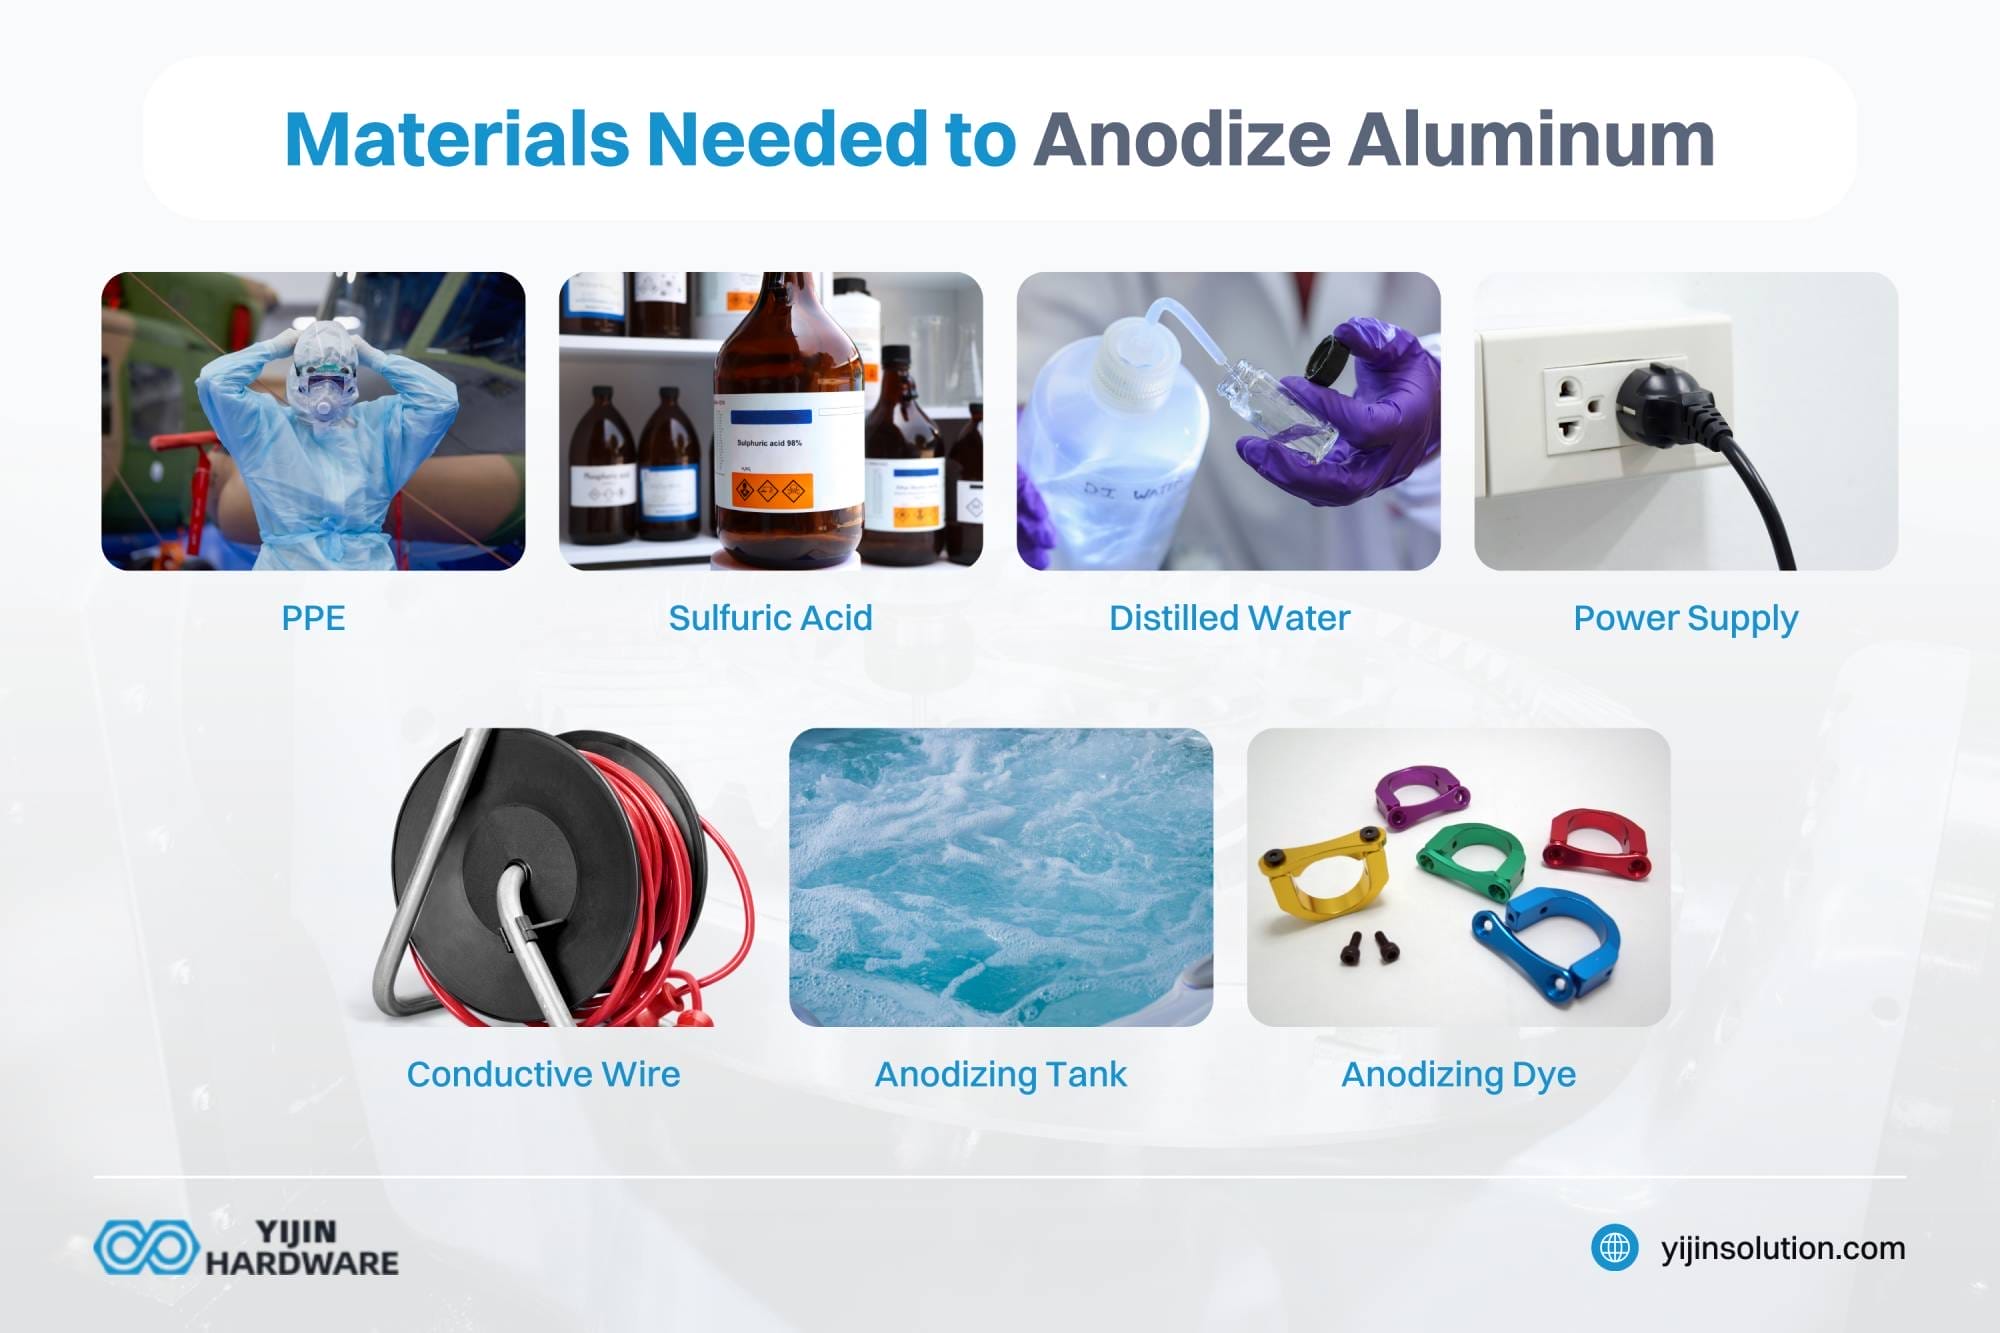
| Material | Purpose |
|---|---|
| Sulfuric Acid | Main chemical for anodizing bath (1 part acid to 3 parts water) |
| Distilled Water | Used to mix with sulfuric acid and rinse parts |
| Power Supply | Provides DC voltage (around 30 volts) for anodizing |
| Conductive Wire | Connects aluminum part to power supply; aluminum or lead wire recommended |
| Anodizing Tank | Holds anodizing solution and the aluminum part |
| Dye (Optional) | Adds color to anodized aluminum |
| Safety Gear | Gloves, goggles, respirator for protection when handling chemicals |
To successfully anodize aluminum, you will need several materials, such as sulfuric acid and conductive wire. Here’s a full list:
- Sulfuric Acid: This is the primary chemical used in the anodizing bath. A typical ratio is 1 part sulfuric acid to 3 parts distilled water.
- Distilled Water: Essential for mixing with sulfuric acid and rinsing parts after anodizing.
- Power Supply: A DC power supply or battery charger is needed to provide the necessary voltage (typically around 30 volts) for the anodizing process.
- Conductive Wire: Use aluminum wire or lead to connect your aluminum part to the power supply.
- Anodizing Tank: A container that can hold the anodizing solution and accommodate your aluminum parts.
- Dye (Optional): If you want to color your anodized aluminum, you can use anodizing dye or clothing dye.
- Safety Gear: Personal protective equipment (PPE) including gloves, goggles, and a respirator are crucial for protection when handling chemicals.
How to Anodize Aluminum
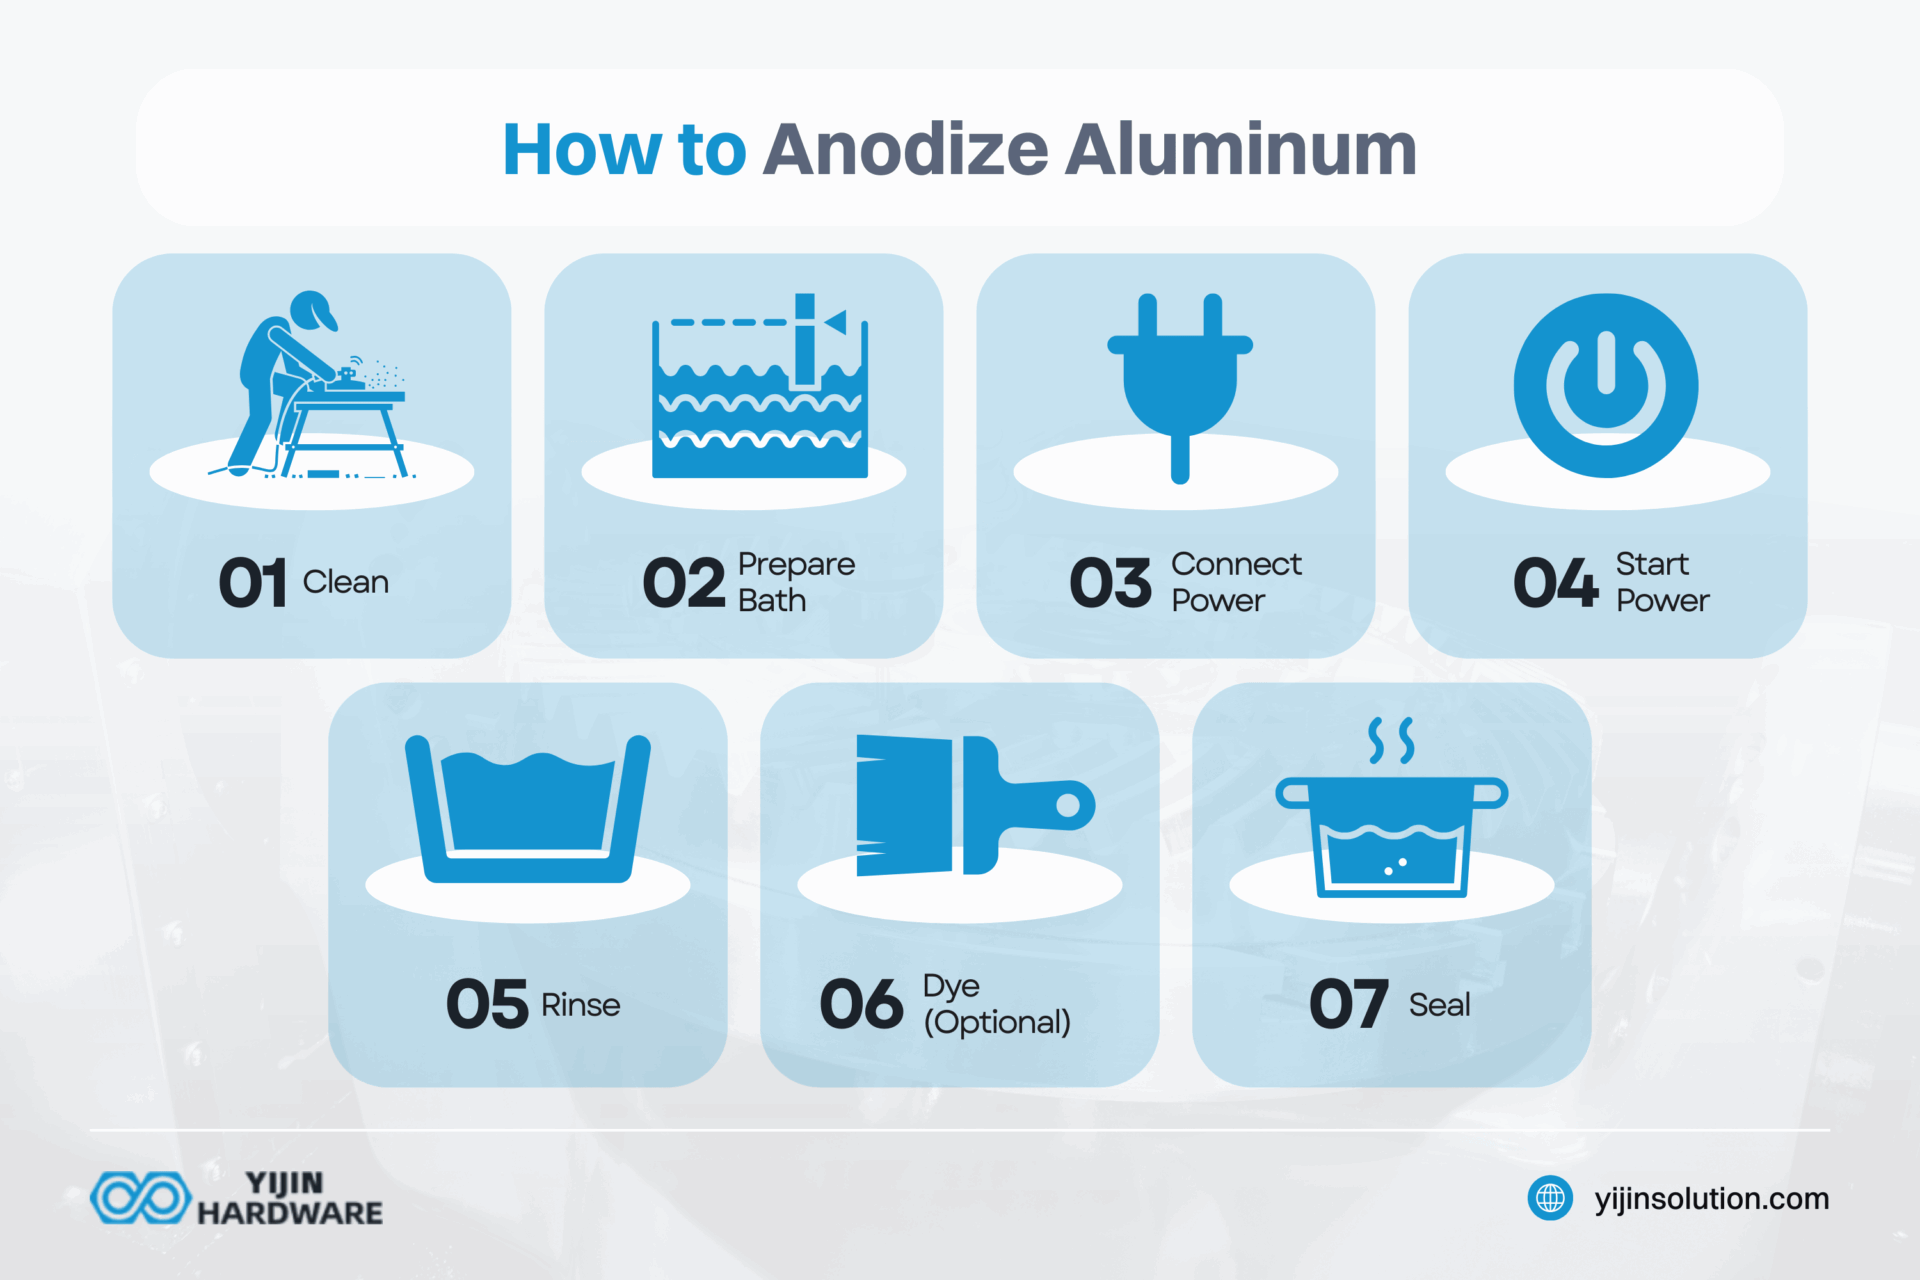
To anodize aluminum, clean and prepare the surface, set up an acid-water bath, and connect a power supply. After 30 minutes to 2 hours, rinse, add vibrant dye if desired, and seal the piece for a tough, lasting finish. Let’s examine these steps in detail:
| Step | Description |
|---|---|
| 1. Clean | Wash and sand the aluminum surface as needed |
| 2. Prepare Bath | Mix 1 part sulfuric acid with 3 parts distilled water; add acid to water for safety |
| 3. Connect Power | Attach the positive lead to aluminum and the negative lead to a cathode in the bath |
| 4. Start Power | Maintain 0.02–0.03 amps per sq inch; anodize for 30 mins to 2 hours |
| 5. Rinse | Turn off power, remove part, and rinse in distilled water |
| 6. Dye (Optional) | Submerge in dye for 10–15 minutes if coloring is desired |
| 7. Seal | Boil in distilled water or use sealer to close pores and improve durability |
Anodizing aluminum involves a few steps that must be followed carefully, from setting up the bath to sealing. Here’s a step-by-step guide:
- Prepare the Aluminum Part: Start by cleaning the surface of the piece of aluminum thoroughly with soap and water or a degreaser. If needed, sand the surface lightly to ensure good adhesion of the anodized layer.
- Set Up Your Anodizing Bath: In a well-ventilated area, mix 1 part sulfuric acid with 3 parts distilled water in your anodizing tank. Always add acid to water, not the other way around, to prevent dangerous reactions.
- Connect the Power Supply: Set up your power supply and connect the positive lead to your aluminum part. The negative lead should be connected to a cathode (like lead) placed in the bath.
- Turn on the Power: With everything connected, turn on the power supply. Maintain an amperage of about 0.02 to 0.03 amps per square inch of surface area for optimal results.
- Monitor the Process: Allow the part to anodize for 30 minutes to 2 hours, depending on its size and desired thickness of the anodized layer. You’ll notice that it starts to change color as it develops its oxide layer.
- Rinse and Neutralize: After anodizing, turn off the power and carefully remove the part from the tank. Rinse it immediately in distilled water to stop the reaction.
- Dyeing Aluminum (Optional): If you want to color your anodized part, submerge it in dye for 10–15 minutes after rinsing.
- Seal the Anodized Layer: Finally, boil the parts in distilled water or use a commercial sealer to close off the pores of the anodized layer for enhanced durability.
How to Anodize Aluminum at Home
Now, you might be wondering, “Can you anodize aluminum at home?” Of course, you can! Anodizing at home is entirely possible with some basic equipment and safety measures:
- Gather Your Materials: Ensure you have all necessary materials as outlined above.
- Choose Your Location Wisely: Conduct this process outdoors or in a well-ventilated garage, due to fumes from sulfuric acid.
- Follow Safety Protocols: Wear gloves, goggles, and a respirator throughout the process.
By following these steps carefully and being mindful of safety, you can successfully anodize aluminum parts at home.
Why Should You Anodize Aluminum?
Anodizing aluminum increases its longevity, strength, and appearance. Here are a few of the benefits you would reap should you wish to anodize aluminum:
- Corrosion Resistance: The anodized layer protects against environmental factors that could lead to rust or degradation.
- Improved Durability: Anodized surfaces are much harder than untreated aluminum, making them less prone to scratches and wear.
- Aesthetic Appeal: The ability to dye aluminum allows for customization in color while maintaining durability.
- Reduced Maintenance: Anodized surfaces are easier to clean and maintain over time compared to bare metal.
- Improved Surface Properties: The oxide layer created during anodizing increases surface hardness significantly compared to untreated aluminum.
- Environmental Resistance: Anodized parts resist damage from UV light and harsh weather conditions better than non-anodized parts.
- Increased Lifespan: Products made from anodized aluminum tend to last longer due to their enhanced protective qualities.
- Versatility in Applications: From auto parts to consumer electronics, anodized aluminum is used widely across industries due to its beneficial properties.
Yijin Hardware: Professional CNC Machining Services
Whether you’re looking to enhance corrosion resistance or add color through dying aluminum, understanding how to properly anodize is crucial. If you’re looking for professional assistance or high-quality machining services, Yijin Hardware offers expertise in CNC machining tailored for various applications and materials.
Get in touch with our friendly and helpful team today for the best results!
FAQs on How to Anodize Aluminum?
What is the downside of anodized aluminum?
Anodized aluminum can chip or scratch, exposing the surface of the part and reducing its durability. Additionally, hard anodizing can make aluminum less flexible, potentially leading to cracks with impact.
What voltage is needed to anodize aluminum?
Typically, anodizing requires around 12 to 30 volts, although you’ll have to experiment with larger parts or specific finishes. Battery acid diluted with 1 part acid to 3 parts water is common in setups, usually mixed in quantities like 1 gallon, but results may vary depending on the anodizing depth, and other acid ratios are sometimes used. Note that anodizing may also affect the appearance over time if the part is exposed to harsh conditions.
Which is better, anodized or nonstick?
Anodized aluminum offers a tougher, more scratch-resistant surface compared to nonstick coatings, making it work better for certain cooking or industrial uses. For how to color aluminum, dyes can be added during anodizing to create vibrant, durable colors. Let the part sit in the dye for an extended period.
What can you not use on anodized aluminum?
Avoid using lye or abrasive cleaners, as they can damage the surface of the part by stripping the anodized layer. It’s also best to keep titanium or steel beads away, as these can scratch or mar anodized finishes.
Back to Top: How to Anodize Aluminum?


